

The site survey is the technical visit that happens after you sign a solar contract and before permits are filed. A technician spends one to two hours documenting your roof, electrical system, and shading. Most surveys confirm the proposal. Some uncover deal-breakers. Here is what gets checked and what can stop the project.
- A site survey takes 1 to 2 hours and covers roof, electrical, structural, and shading assessments.
- The most common findings: panel upgrades needed, heavier shading than satellite estimates showed, and roof condition issues.
- About 1 in 10 surveys leads to a significant change order or a cancelled project; the rest confirm the proposal.
- Deal-breakers include structurally unsound roofs, 60-amp electrical service, and shading that destroys the economics.
- Be present if you can: you will learn more in this visit than in all the sales calls combined.
What the site survey is (and is not)
The site survey is a technical data-collection visit, not a sales call. The technician (often a different person from whoever sold you the system) is there to verify every assumption in your proposal with measurements and photographs. It usually happens one to two weeks after contract signing and takes one to two hours.
What it is not: a formality. Proposals are built from satellite imagery and utility bill estimates, both of which miss things. The survey catches the misses while they are still cheap to fix. A thorough survey is a sign of a good installer; a 15-minute walkaround is a sign of a sloppy one. The DOE homeowner’s guide and SEIA both describe what a professional assessment should cover. If you can be home, be home.
For context on where the survey fits, see how long installation takes and the phase-by-phase timeline.
The roof assessment
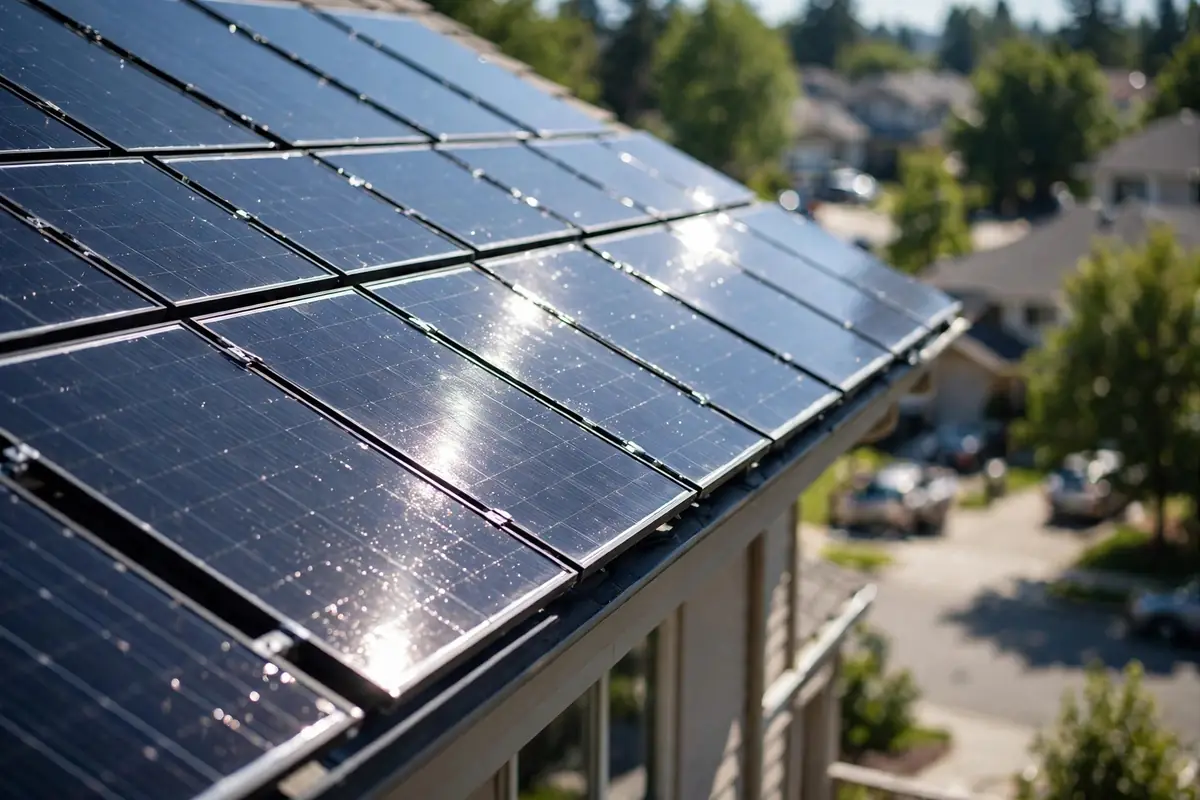
The technician measures each roof plane (length, width, pitch, orientation), notes the roofing material and its age, and inspects its condition: cracked tiles, curling shingles, soft spots, ponding areas on flat roofs. They photograph everything, including close-ups of penetrations (vents, chimneys, skylights) that panels must work around.
Roof age gets special attention. A roof with 5+ years of life left is usually fine; the panels will come off once for a re-roof eventually, which is normal. A roof at end of life is a different conversation: most reputable installers will tell you to replace it first, because removing and reinstalling an array for a re-roof costs $3,000 to $6,000. Our roof age guide covers that decision in detail.
They also assess access: where will the crew stage equipment, is there room for a lift, are there overhead lines complicating ladder placement? These logistics affect the install-day plan, not the economics, but they are part of a complete survey.
The electrical assessment
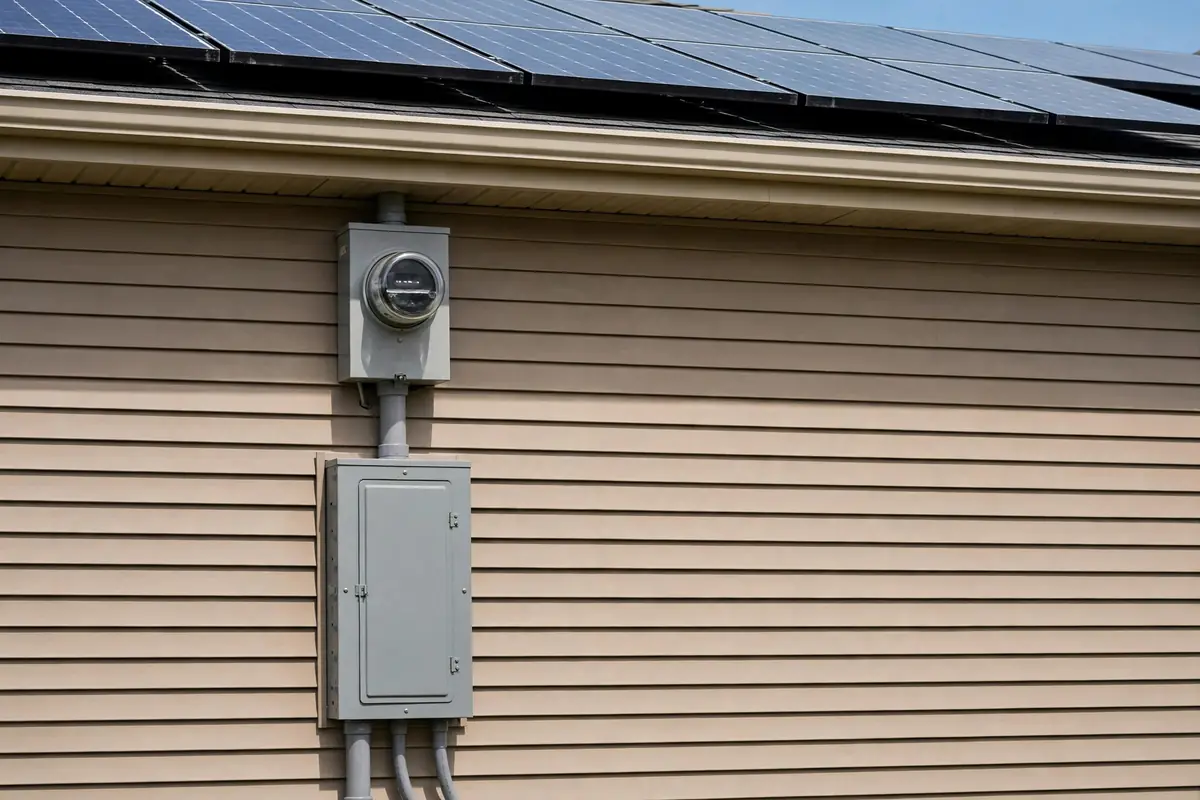
This is where most change orders originate. The technician opens your main electrical panel and documents: amperage (100 vs 200 amp), manufacturer and model, available breaker spaces, and overall condition. They check the meter, the grounding, and the path from the panel to the proposed inverter location.
The big three findings:
100-amp service. Common in older homes. Many jurisdictions and utilities require a 200-amp upgrade before adding solar plus a battery, and some installers require it for solar alone depending on the backfeed calculation. A panel upgrade adds $1,500 to $3,000 and two to four weeks. It is the single most common survey surprise.
Obsolete or recalled panels. Federal Pacific (Stab-Lok) and Zinsco panels are safety hazards that many electricians will not touch; they must be replaced before solar goes in. Your installer should flag this at survey, not on install day.
No space for breakers. A full panel with no spare spaces needs either a subpanel or a panel replacement. Minor compared to a full upgrade, but still a change order.
The technician also confirms the inverter location (usually near the panel, shaded if possible) and the wire run path. Long or difficult runs add labor cost; exterior conduit on a finished home is normal and fine.
The shading analysis
Satellite estimates miss trees that grew, new second stories next door, and chimneys that throw long winter shadows. The survey tech measures actual shading with a shade analysis tool (a Solmetric SunEye or similar device, or a detailed drone/aerial assessment), capturing obstructions in all directions across all seasons.
What matters is not whether shade exists but how much production it kills. A vent pipe shading one panel for an hour is trivial with microinverters or optimizers. A big oak shading half the array from 2 to 5 PM daily can destroy 20 to 30 percent of production and wreck the payback math. The engineer models the measured shade against the proposed layout; if the numbers no longer work, you get options: trim the tree, shrink the system to the unshaded area, or walk away.
Honest installers show you the shade report. If production estimates drop significantly from the proposal after the survey, ask to see exactly why before accepting a redesign.
The structural check
Solar adds 2 to 4 pounds per square foot to your roof, which most modern roofs handle easily. The structural check confirms it: the tech (or a follow-up structural engineer for older or unusual homes) verifies rafter size and spacing, usually with attic access, and checks for signs of distress like sagging or cracked members.
Most homes pass without issue. Red flags: stick-built roofs with undersized rafters, signs of water damage weakening the structure, or flat roofs with questionable load capacity. When the standard check raises questions, the installer orders a formal structural engineering review ($300 to $600), which either clears the project or specifies reinforcement. Reinforcement is rare on typical suburban homes and more common on century-old houses and some manufactured homes.
What can kill your project
Most surveys confirm the proposal with minor adjustments. But some findings stop the project, and it is better to learn them now than after permits. Here is how common findings typically resolve:
| Survey finding | Typical outcome | Cost / time impact |
|---|---|---|
| 100-amp electrical panel | Upgrade to 200 amps | $1,500 – $3,000; +2 to 4 weeks |
| Roof near end of life | Re-roof before solar | $8,000 – $15,000; +3 to 6 weeks |
| Heavy shading | Trim trees or shrink system | $0 – $1,500; redesign 1 week |
| Obsolete panel (FPE/Zinsco) | Full panel replacement | $2,000 – $3,500; +2 to 3 weeks |
| Structural concern | Engineering review | $300 – $600; +1 to 2 weeks |
| Structural failure | Project cancelled or ground-mount | Terminal for rooftop |
The genuine deal-breakers:
Roof needs replacement and you will not do it. The installer will not mount a 25-year asset on a roof with 3 years left. Either re-roof first or pause the project.
Structural failure. A roof that cannot safely carry the array even with reinforcement is rare but terminal for rooftop solar. Ground-mount may be an alternative if you have the land.
Shading that destroys economics. If the shade analysis shows production 30%+ below the proposal and there is no remedy (no tree to trim, no unshaded roof face), the payback math may not work. A good installer tells you this plainly.
Electrical service that cannot be upgraded economically. Extremely rare, but some homes have service configurations where an upgrade requires utility infrastructure work costing five figures. At that point the project economics usually die.
HOA or historic-district prohibition. Most states limit HOA power over solar, but historic districts and some condo regimes can still block installations. The survey sometimes surfaces this when the tech asks about your HOA.
None of these reflect badly on you. They are the survey doing its job: finding the truth before money is spent. A cancelled project at the survey stage costs you nothing but time, which is exactly the point.
What happens after the survey
Within a week, you receive one of three outcomes. Confirmed: the proposal stands, engineering finalizes the plan set, and permitting begins. Adjusted: a change order for a panel upgrade, tree trimming, or layout change, which you approve or decline. Cancelled: a deal-breaker emerged, the contract’s contingency clause releases you, and any deposit is refunded per the contract terms.
Read the change order as carefully as the original contract. This is the moment to re-run the economics with the true numbers. And if you have not yet vetted your installer thoroughly, our 15 questions guide still applies: it is not too late to ask hard questions before permits are filed.
How long does a solar site survey take?
One to two hours for a typical home. Larger or complex properties can take longer, especially with attic structural checks.
Do I need to be home for the site survey?
Not strictly, but it helps. The tech needs access to the electrical panel, attic, and yard. Being present lets you ask questions and hear findings firsthand.
What if the survey finds problems?
You get a change order with the fix and its cost, or the project is cancelled under the contract’s contingency clause. Either way, you decide before permits are filed.
Can I skip the site survey?
No reputable installer will skip it. The survey protects both sides: it verifies the proposal is buildable and gives you documented findings before construction.
Who pays for the site survey?
It is included in the project cost, typically covered by your deposit. If the project cancels under contingency, you should not owe extra for the survey itself.
Ready to compare real solar prices?
Get free, no-pressure quotes from vetted local installers and see what solar costs for your roof.