
Our overview guide covers how long solar installation takes. This is the granular version: every phase from first quote to permission to operate, what actually happens in each, how long it really takes, and where projects stall.
- The project has 7 distinct phases; only one involves anyone on your roof.
- Phases 3 and 4 (permitting and utility interconnection) run in parallel at good installers, saving weeks.
- Total realistic range: 8 to 16 weeks, with 10 to 12 the most common outcome.
- The homeowner’s main job: respond to paperwork within 24 hours at every step.
- Nothing on your roof happens until permits are approved; the system stays off until PTO.
Phase 1: Shopping and contract (2-6 weeks)
This phase is entirely yours. You collect three to five quotes, compare equipment and pricing, check installer reviews and licensing, and sign a contract. Two to four weeks is typical; six if you are thorough (which you should be).
What actually happens: each installer (or their sales rep) produces a proposal with system size, equipment, pricing, and production estimates. You compare them, negotiate, and pick one. The contract specifies equipment models, total price, payment schedule, timeline estimates, and warranty terms. Read it fully; the payment schedule matters because you will pay in milestones as phases complete.
Make these weeks count: ask our 15 questions of every bidder, and run each quote through our red-flags checklist. Time spent here prevents every downstream problem. For the big picture, see how long installation actually takes.
Phase 2: Site survey and engineering (1-2 weeks)
Within a week or two of signing, a survey technician visits your home. This is not a sales call; it is a technical assessment, and it determines whether your contract’s assumptions hold. The tech measures roof planes, documents the electrical panel (amperage, brand, available spaces), inspects the attic for structural access, photographs everything, and runs a shade analysis.
Back at the office, engineers turn the survey into a plan set: the panel layout, electrical one-line diagram, structural calculations, and equipment specifications. If the survey finds surprises (a 100-amp panel, structural concerns, heavier shading than the satellite estimate showed), you get a change order now, before permits. This is the cheapest point in the project to discover problems. Our site survey guide details what can kill a project at this stage.
Phase 3: Permitting (2-6 weeks)
The installer submits the plan set to your city or county building department for an electrical (and sometimes structural) permit. This is where timelines diverge most by location. Jurisdictions with online solar permitting and dedicated reviewers clear simple residential systems in days. Others, still on paper with generalist reviewers, take four to six weeks, longer if the reviewer issues corrections.
Corrections are normal and not a sign of a bad installer: the reviewer asks for a detail, the engineer revises, resubmission takes a week. Two rounds of corrections is common. What you want to avoid is a permit rejected for missing HOA approval or an incomplete application; good installers pre-check these. See what your city actually requires for the permitting details.
Nothing happens on your roof during this phase. If a company wants to install before permits are approved, that is a red flag, not efficiency.
Phase 4: Utility interconnection (2-8 weeks, parallel)
While permits are pending, your installer submits the interconnection application to your utility: system specs, inverter certifications, the one-line diagram, and your account details. The utility reviews whether your system can safely connect, whether the local transformer has capacity, and what meter changes are needed.
Small residential systems usually pass through a fast-track or simplified review. But utilities process thousands of applications, and backlogs of six to eight weeks exist at some large investor-owned utilities. The DOE’s interconnection resources explain the process, and DSIRE tracks state-level interconnection rules. Transformer upgrades, occasionally required when several neighbors already have solar, can add months; your installer should flag this risk early if your street is saturated.
The key efficiency: phases 3 and 4 run simultaneously. An installer who sequences them (permits first, then utility) adds a month for no reason. Ask yours whether they file in parallel.
Phase 5: Installation (1-3 days)
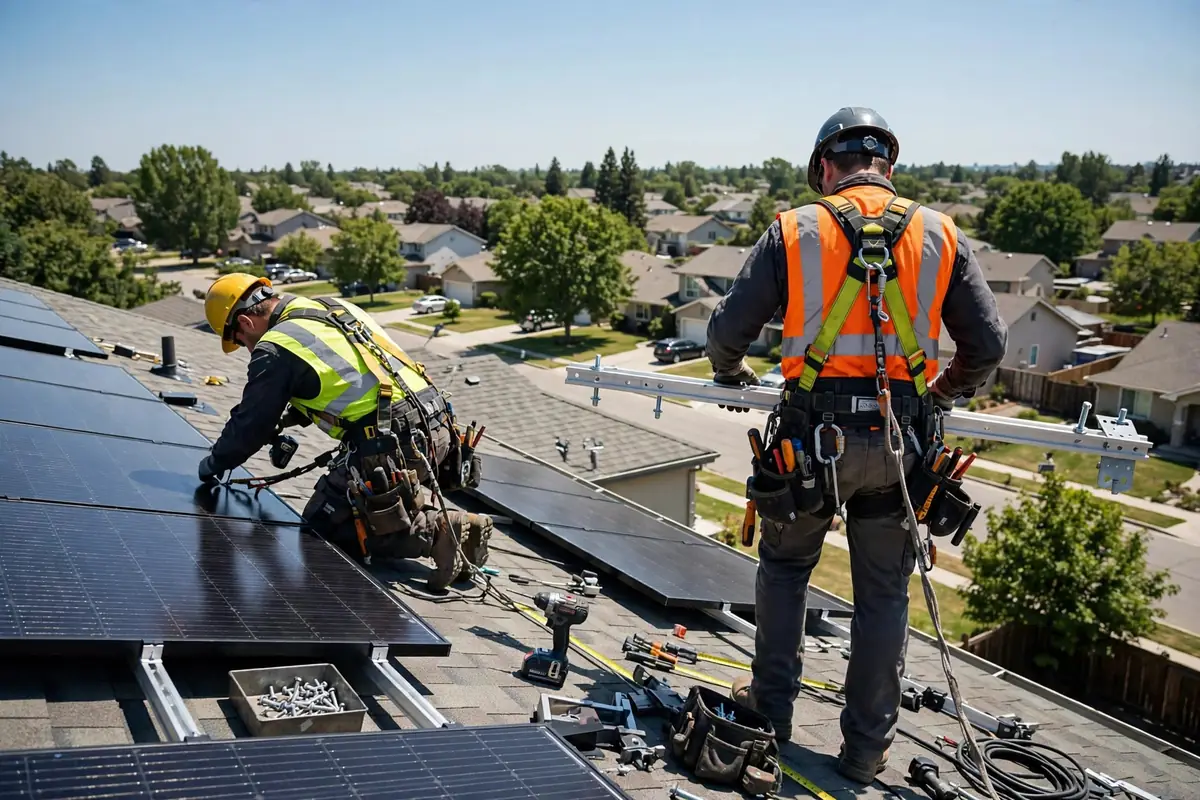
The visible phase, and the shortest. Day one: crew arrives around 7 AM, sets up safety equipment, installs rails and flashing on the roof, and mounts panels. Day two: inverter installation, wiring, conduit runs, electrical panel connections, and system testing. Complex roofs (tile, steep pitch, multiple arrays, battery add-ons) extend to day three.
Expect: noise from drilling, workers on the roof, and a power outage of two to four hours during the main panel tie-in. Your Wi-Fi will drop during the outage; the crew needs your network credentials afterward to configure monitoring. If you work from home, plan the tie-in window around your meetings or tether to your phone for those hours. By the end, the app is on your phone showing the system (still off, awaiting PTO), and the crew walks you through the equipment locations, the rapid-shutdown switch, and how to read the monitoring screens. Do not be surprised if they leave the system switched off: it stays off until the utility grants permission to operate.
Payment milestone: most contracts collect a large installment on installation completion. Inspect the visible work before paying: straight panel rows, tidy conduit, labeled disconnects.
Phase 6: Inspection and PTO (2-6 weeks)
Two approvals remain. First, the city inspector visits (scheduled 3 to 10 days out) and checks the install against the permitted plans: rail attachments, flashing, wiring methods, labeling, disconnect placement. Most systems pass first try. Failures are usually minor and fixed within days.
Second, the utility grants permission to operate. This involves final application review, sometimes a meter swap to a bidirectional net meter, and written authorization. One to four weeks is typical. Only now does the installer (or you, via the app) switch the system on. Production ramps up immediately; your first full month of generation starts here, not on install day.
Final payment is due at PTO. Keep all documents: contract, permits, inspection sign-offs, PTO letter, equipment warranties, and monitoring logins. You will need them for warranty claims, home sales, and tax filings.
| Milestone | Typical payment due | Your action |
|---|---|---|
| Contract signing | 10 – 25% deposit | Read every clause first |
| Installation complete | 50 – 65% | Inspect visible work |
| PTO granted | Remaining balance | Confirm production in app |
Keeping your project on track
The homeowner’s leverage is responsiveness. Sign documents within 24 hours. Answer unknown numbers during the project (it is the permit coordinator). Approve change orders promptly or ask questions fast. Projects that stall almost always stall waiting on the customer, the city, or the utility, in that order, and only one of those is you.
Set expectations with a simple question at contract signing: “What is your average days from contract to PTO in my utility territory over the last six months?” Get the number in writing. Then add two weeks as your mental plan. Track the milestones yourself: contract date, survey date, permit submission, permit approval, install date, inspection date, PTO date. A one-line log takes thirty seconds and turns vague unease into specific questions.
If the project passes the quoted timeline by a month with no explanation, escalate: ask for the specific blocker (permit number, utility application ID) and a named person resolving it. Vague answers at that point mean the project is drifting.
What is the longest phase?
Usually permitting or utility interconnection, at 2 to 8 weeks each. The physical installation is the shortest phase at 1 to 3 days.
Can phases overlap to save time?
Yes. Permitting and utility interconnection should run in parallel. Some installers also pre-order equipment during permitting. Ask yours about their parallel-filing process.
What if my HOA is slow to approve?
File the HOA application the day you sign the contract. Many states limit HOA restrictions on solar, but the process still takes weeks. Do not let it become the critical path.
How do I know my project is not stuck?
Ask for specifics: permit application number, utility interconnection ID, scheduled inspection date. A good installer provides these without being asked.
Does adding a battery change the timeline?
Yes, by roughly 2 to 4 weeks: extra electrical permits, a more complex interconnection review, and additional commissioning. The physical install still fits in the same window.
Ready to compare real solar prices?
Get free, no-pressure quotes from vetted local installers and see what solar costs for your roof.